You’ve probably wondered why your blow dry at home never quite looks like the one from the salon. It’s not magic. It’s technique. The secret is in how you prep, section, and direct the airflow, not just how long you hold the dryer. This article breaks down the step-by-step method to get smooth, shiny, lasting results without the heat damage.
Key Takeaways
- Towel-dry hair to 60-80% moisture before you start blow drying.
- Always use a heat protectant to shield hair from thermal damage.
- Section hair with clips for even drying and better control.
- Point the nozzle downward and follow the brush to smooth the cuticle.
- Finish with the cool shot button to set your style and add shine.
Achieve a Salon-Perfect Blow Dry at Home
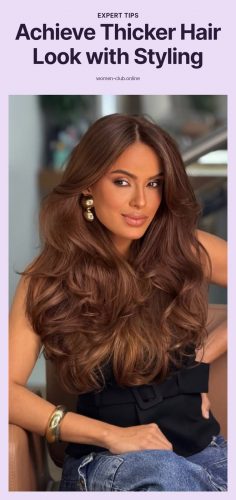
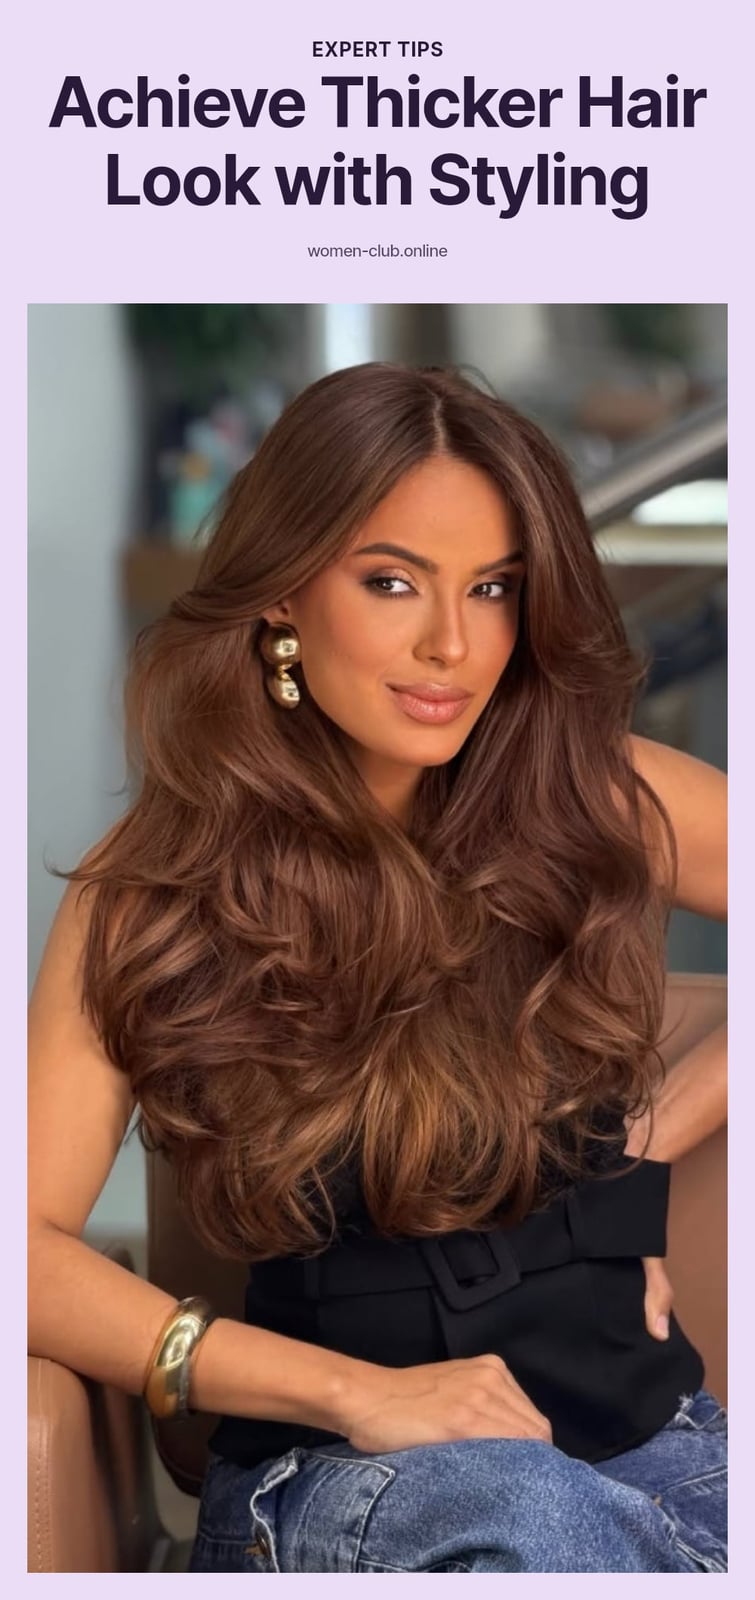
Achieving a professional-looking blow dry at home comes down to proper preparation, sectioning, and the right tools. The goal is to create smoothness, volume, and shine while drying efficiently and minimizing heat damage. With this technique, you can get that fresh-from-the-salon look without leaving your bathroom.
Essential Tools for a Flawless Blow Dry
Before you start, gather these essentials:
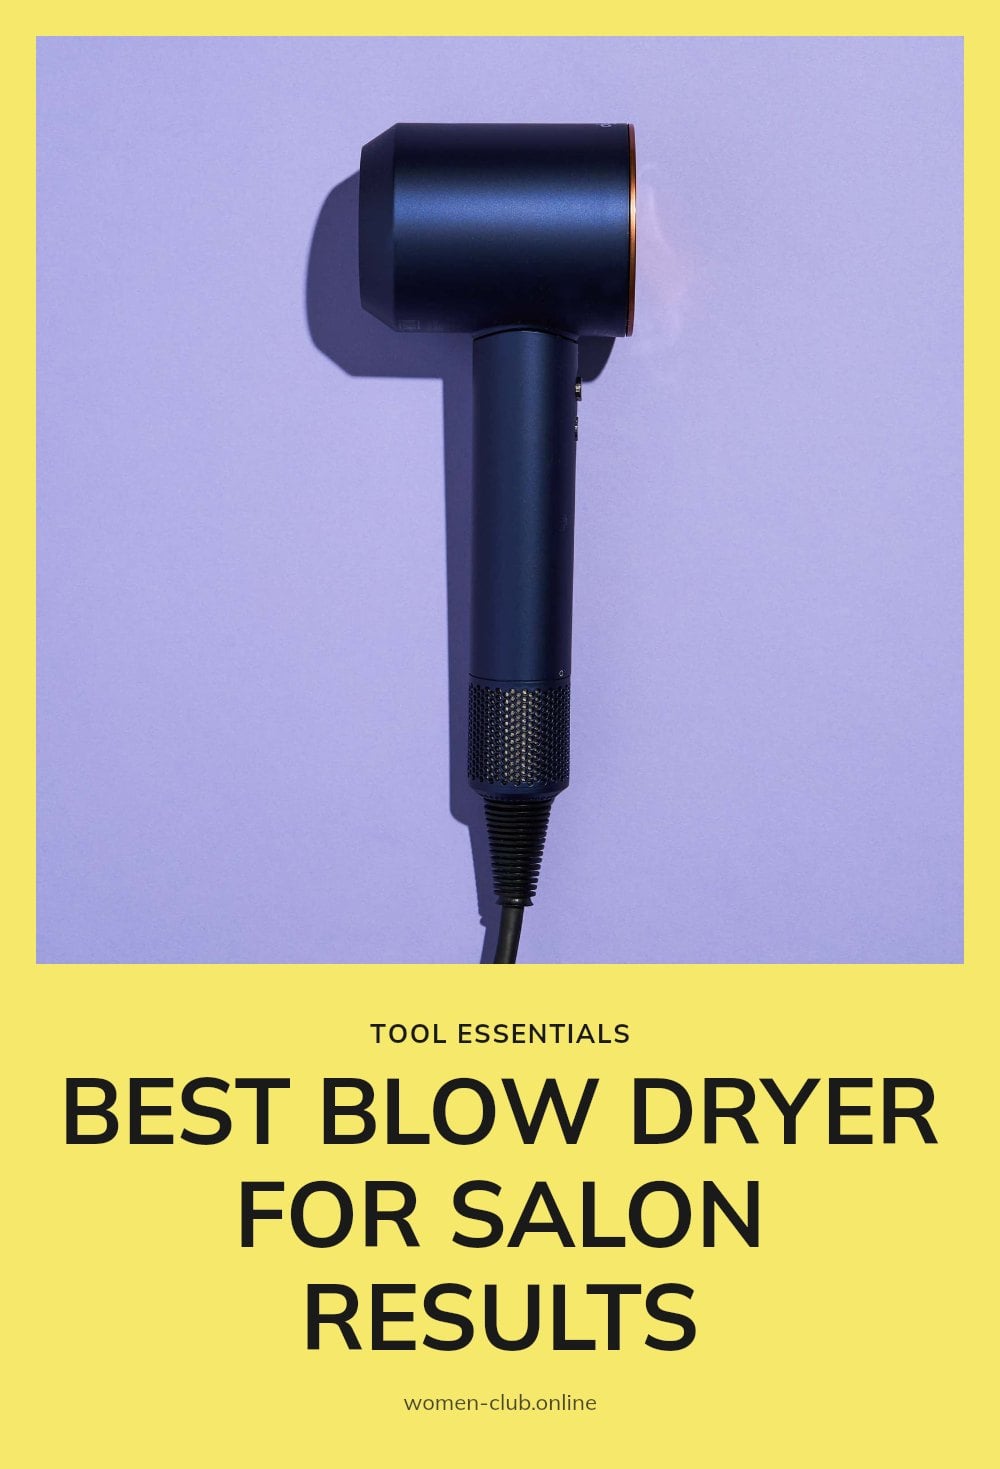
- Blow dryer with concentrator nozzle: The nozzle focuses airflow for frizz prevention and precise styling.
- Heat protectant: Non-negotiable. It shields your hair from thermal damage.
- Sectioning clips: They give you control and ensure even drying.
- Round brush: Great for creating volume and curls.
- Paddle brush: Ideal for sleek, straight styles.
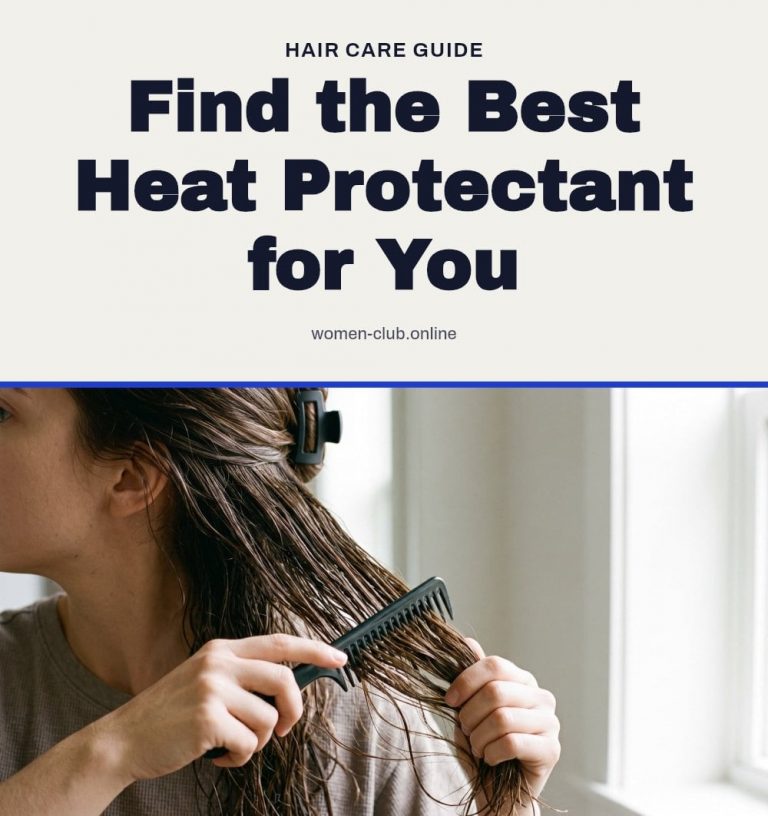
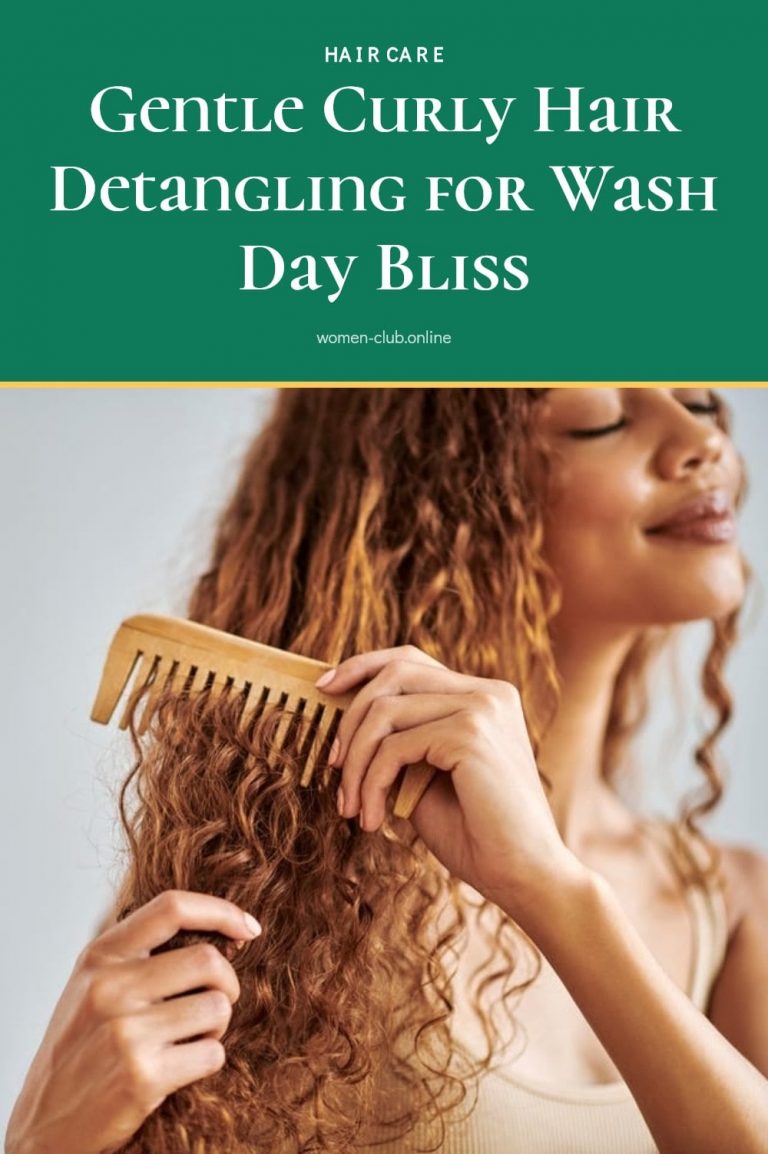
- Wide-tooth comb or detangling brush: Best for wet hair to avoid breakage.
Step-by-Step: Your Guide to a Professional Blow Dry
- Towel-dry your hair: Gently remove excess moisture until hair is 60-80% dry. Hair is most vulnerable when wet, so don’t skip this step.
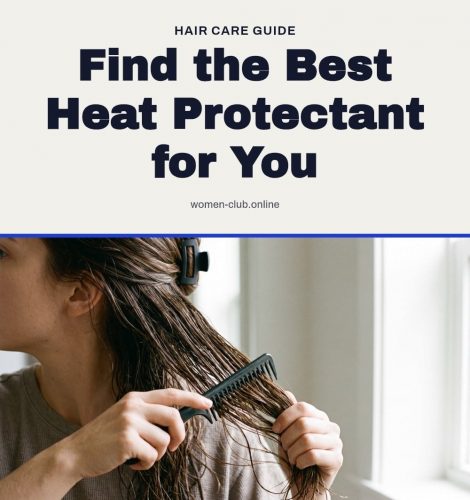
- Apply heat protectant: Spray or work a cream evenly through damp hair to create a thermal barrier.
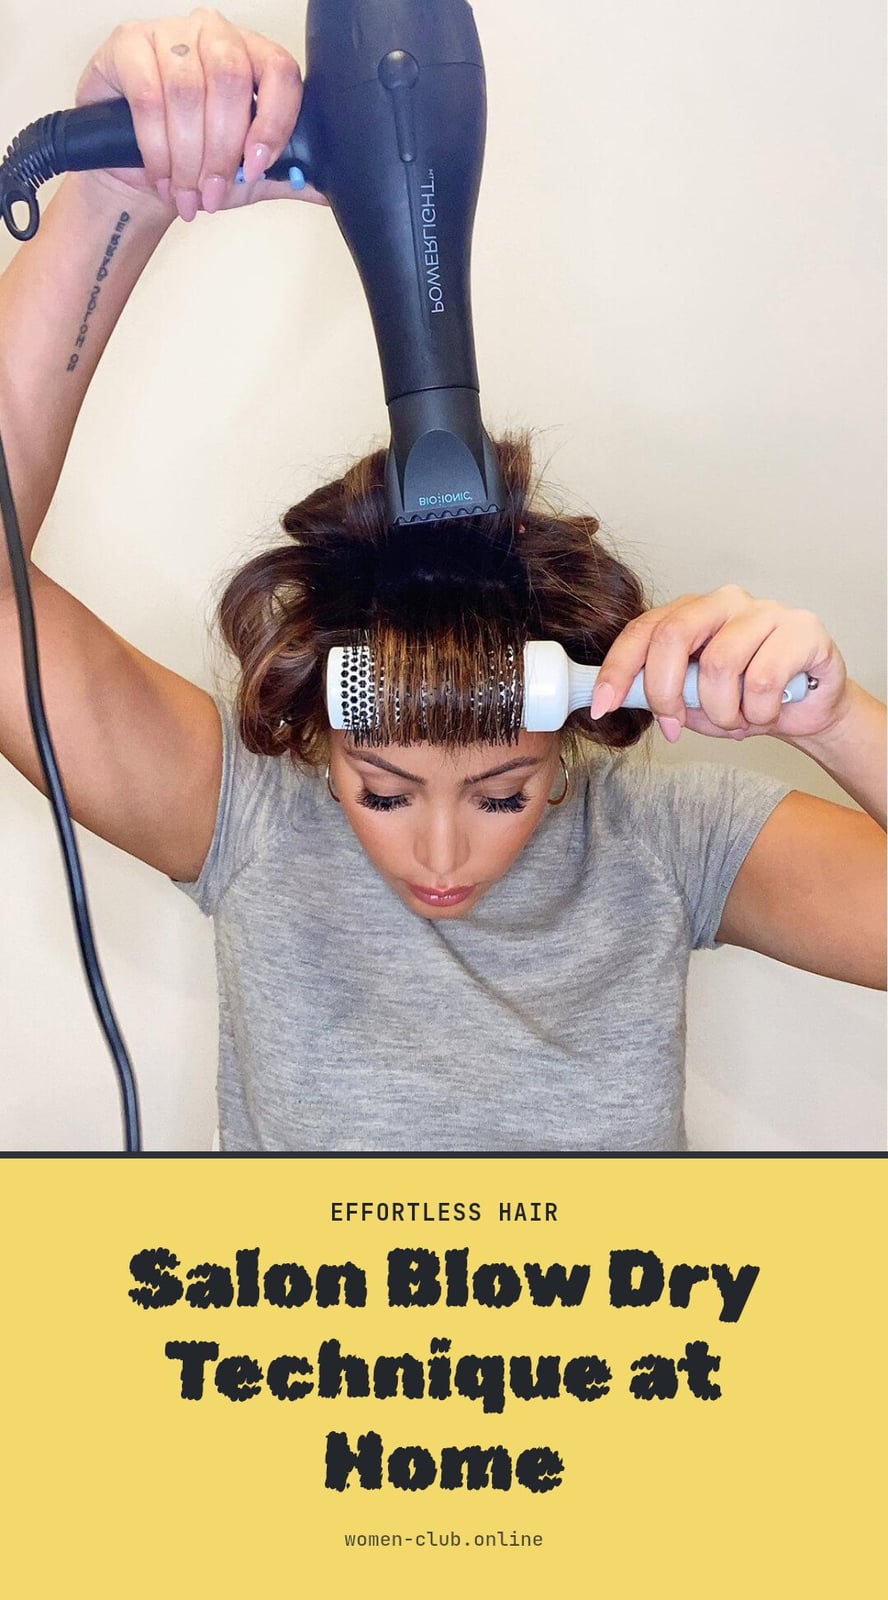
- Section your hair: Use clips to divide hair into manageable parts (top, sides, back). This allows for even drying and full control.
- Start drying from the bottom: Work on the underneath sections first, then move to the top layers for better volume and control.
- Use the right brush: For volume, use a round brush; for smoothness, use a paddle brush. Hold the brush in one hand and the dryer in the other.
- Direct airflow downward: Point the concentrator nozzle down the hair shaft, following the brush from roots to ends. This smooths the cuticle and adds shine.
- Keep the dryer moving: Move it continuously along each section to avoid concentrating heat in one spot. Hold it about 6-8 inches from your hair.
- Finish with the cool shot: Press the cool shot button to set your style, close the cuticle, and boost shine.
Common Blow Drying Mistakes to Avoid
Avoid these common mistakes to keep your blow dry looking smooth and lasting longer:
- Starting with soaking wet hair: This prolongs drying time and increases heat exposure, leading to damage. Always towel-dry first.
- Skipping heat protectant: Your hair needs a shield against thermal damage. Never skip this crucial step.
- Not using a concentrator nozzle: Without it, airflow is scattered, causing frizz. Always attach the nozzle to direct heat.
- Drying against the cuticle: Blowing air from ends to roots roughs up the cuticle, leading to dullness and frizz. Always aim downwards.
- Over-drying hair: This strips moisture, making hair dry, brittle, and prone to damage. Stop when hair is just dry.
- Not sectioning hair: This leads to uneven drying and missed spots. Sectioning provides control and ensures thorough drying.
Pro Tips for a Lasting Blow Dry
Work from bottom to top: Start drying the underneath sections first, then move to the top layers. This gives you better control and builds volume from the base.
Don’t neglect the roots: Make sure your roots are fully dry. Damp roots cause flatness and frizz, and your style will fall quickly.
Choose the right brush: A round brush creates volume and curls, while a paddle brush is best for sleek, straight styles. Match your brush to the finish you want.
Finish with a cold shot: The cool shot button sets your style, closes the hair cuticle, and adds extra shine. Don’t skip it.
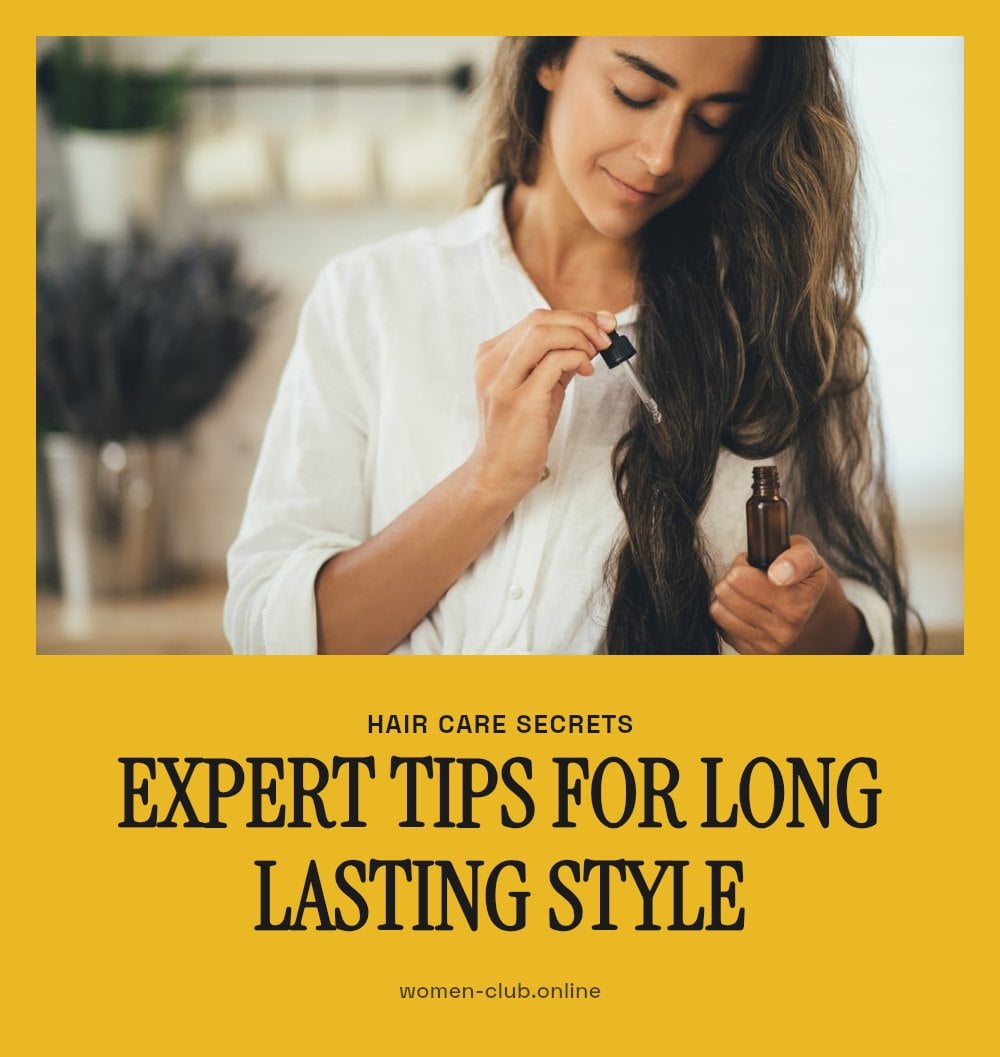
Use a hair serum or finishing oil: Rub a tiny drop between your palms and smooth it over the ends after drying. It adds shine and tames flyaways for a polished look.
How Long Does a Blow Dry Take and Last?
Duration: A full blow dry takes 15 to 45 minutes, depending on your hair’s length, thickness, and the style you want.
Longevity: With good technique and products, results last 1 to 3 days. Humidity and your hair type can affect this.
Maintenance: To extend your blow dry, use dry shampoo on non-wash days and sleep on a silk pillowcase to reduce friction and frizz.
Frequently Asked Questions
Can I blow dry my hair every day?
Daily blow drying is possible if you use a heat protectant and keep the dryer on a low or medium heat setting. Over-drying can lead to brittleness, so aim to dry only until your hair is just dry, not bone-dry. Give your hair a break with air drying when you can.
What’s the best heat setting for fine hair?
For fine hair, stick to low or medium heat to avoid damage and breakage. High heat can easily over-dry fine strands, causing frizz and dullness. Use the cool shot button at the end to set the style without extra heat.
How do I add volume when blow drying?
To add volume, lift sections at the roots with a round brush while directing warm air at the roots. Dry the roots first, then work down the shaft. Start with the underneath sections and build up for a fuller look.
Why does my hair get frizzy after blow drying?
Frizz often happens when the cuticle is roughened by drying against the hair shaft or skipping heat protectant. Always point the nozzle downward, use a concentrator nozzle, and finish with the cool shot to seal the cuticle. Damp roots can also cause frizz, so dry them thoroughly.
How do salons blow dry hair so perfectly?
Salon blowouts rely on proper sectioning, a concentrator nozzle, and directing airflow down the hair shaft. They also use the cool shot button to set the style and avoid over-drying. Practicing the same technique at home with the right tools can give you similar results.
Final Thoughts
My tip: invest in a quality concentrator nozzle and use it every time. Expect your blow dry to last 1 to 3 days with proper technique and products. With practice, you’ll cut down on drying time and get that salon-smooth finish at home.