If you have ever felt like full floor push-ups are out of reach, you are not alone. The good news is that anyone can build the strength to do one with the right step-by-step approach. This article covers the most effective push-up progressions for women, from wall push-ups all the way to the floor, along with common mistakes to avoid and tips for staying consistent.
Key Takeaways
- Start with wall push-ups, then progress to incline and knee push-ups before attempting full floor push-ups.
- Keep your body in a straight line from head to heels and engage your core throughout the movement.
- Aim for 2-3 push-up sessions per week for steady strength gains over 4-8 weeks.
- Lower your chest close to the surface and control both the lowering and pushing phases.
- Stop immediately if you feel sharp pain in your shoulders, wrists, or lower back.
Mastering Push-Ups: Start With Progressions
Full floor push-ups can feel intimidating, but they are achievable for anyone with the right approach. Building strength gradually through easier variations is the key to success. My tip: start with wall push-ups, then progress to incline push-ups on a counter, then knee push-ups on the floor, before attempting full floor push-ups. Each step builds the necessary muscle and confidence.
Essential Tools for Your Push-Up Journey
You don’t need much to start. Here is what you will use:
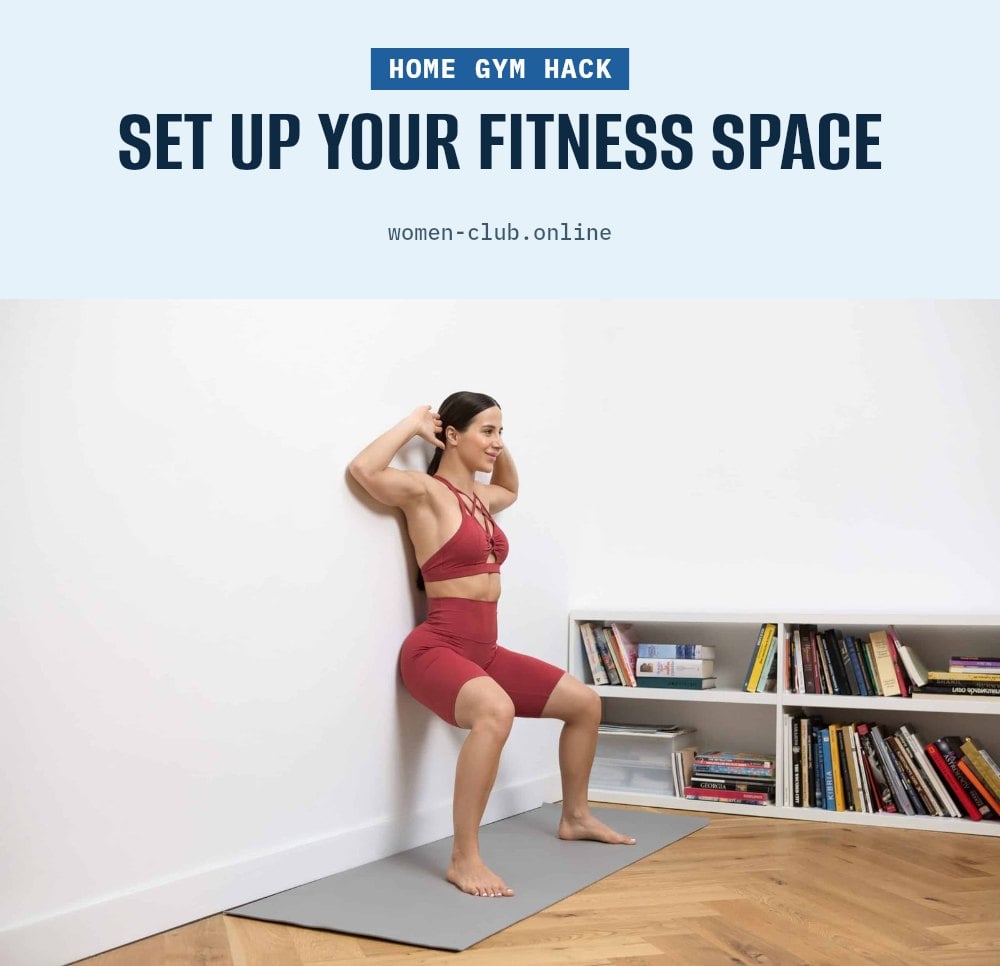
- Sturdy wall: The easiest starting point for wall push-ups.
- Stable counter or table: For incline push-ups at a comfortable height.
- Exercise bench or sturdy chair: For lower incline options as you get stronger.
- Yoga mat: Adds comfort for your knees during knee push-ups.
Step-by-Step: Progressing Your Push-Up Strength
Follow these steps to build push-up strength safely.
- Wall push-ups: Stand an arm’s length from a sturdy wall. Place your hands slightly wider than shoulder-width apart, fingers pointing forward. Keep your body in a straight line from head to heels, engage your core, and lower your chest toward the wall. Push back to start. This variation reduces the weight you lift, letting you focus on form.
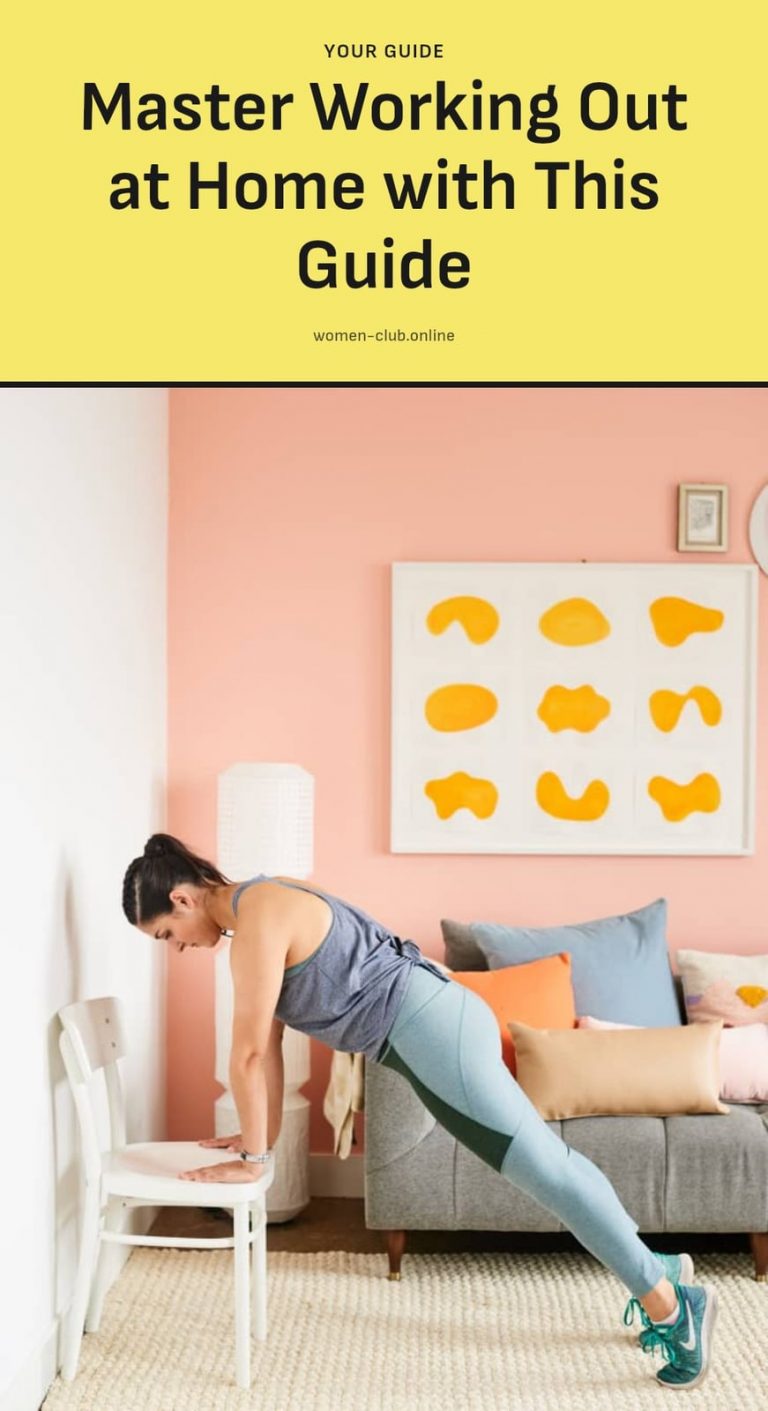
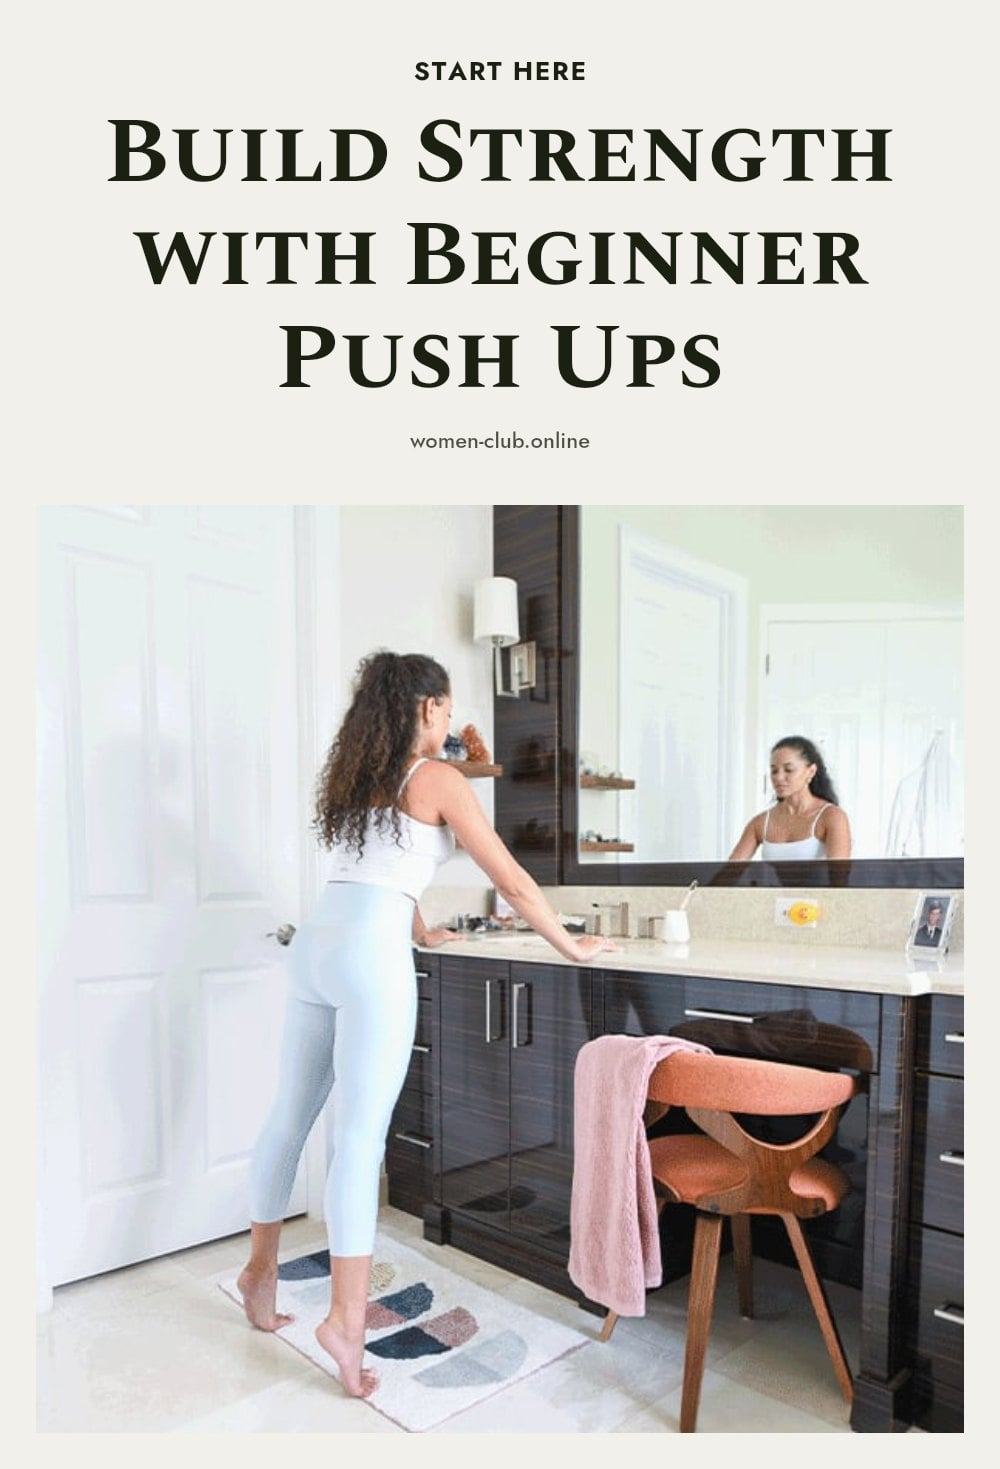
- Incline push-ups on a counter: Once wall push-ups feel easy, move to a counter or table. Place your hands on the edge, walk your feet back, and keep your body straight. Lower your chest toward the surface. As you get stronger, use a lower surface like a bench or sturdy chair to increase the challenge.
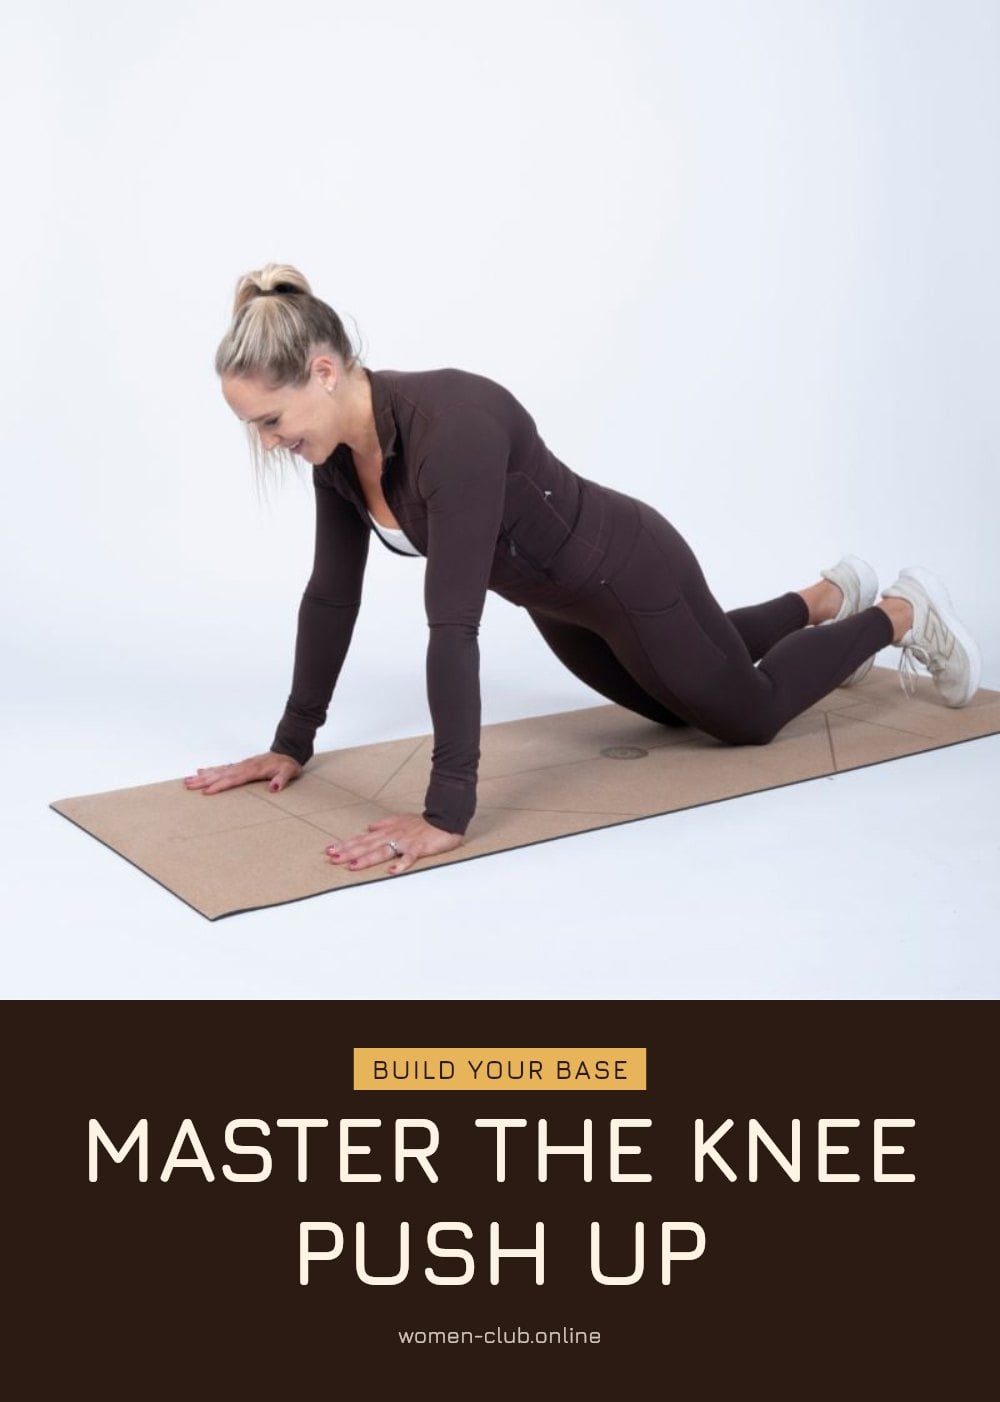
- Knee push-ups on the floor: Start on your hands and knees. Place your hands slightly wider than shoulder-width apart. Keep your body in a straight line from head to heels, engaging your core. Lower your chest toward the floor, then push back up. Your core stays engaged throughout.
- Full floor push-up: From a plank position with hands slightly wider than shoulder-width, keep your body in a straight line from head to heels. Lower your chest close to the floor, keeping elbows at a 45-degree angle to your body. Push up with control. Breathe in as you lower, exhale as you push.
Understanding Which Muscles Push-Ups Work
Push-ups are a compound exercise that works several muscle groups at once.
Primary muscles
- Chest (pectorals): The main driver of the pushing motion.
- Shoulders (deltoids): Assist in the movement and stabilize the joint.
- Triceps: The muscles at the back of your upper arms extend your elbows.
Supporting muscles
- Core (abdominals, obliques, lower back): Keeps your body in a straight line throughout the exercise.
- Glutes: Engaging your glutes prevents your hips from sagging and helps maintain proper form.
Common Push-Up Mistakes and How to Fix Them
Sagging Hips or Piking Up: This usually means your core and glutes aren’t engaged enough. Squeeze your abs and glutes to lock your body into a straight line from head to heels. If you feel your lower back arching, pause and reset.
Flared Elbows: Elbows pointing straight out to the sides put stress on your shoulder joints. Keep them at a 45-degree angle to your body, like an arrow shape. This protects your shoulders and activates your chest more effectively.
Not Going Low Enough: Lowering only a few inches limits muscle activation. Aim to bring your chest close to the floor or surface you are pushing from. Full range of motion builds more strength over time.
Rushing Reps: Speed reduces control and increases the chance of poor form. Focus on a slow, controlled lowering phase (about 2 seconds) and a steady push back up. Quality over quantity every time.
Smart Tips for Building Push-Up Strength

Consistency is Key: Aim for 2-3 sessions per week rather than sporadic, intense workouts. Regular practice builds strength more reliably than occasional all-out efforts.
Listen to Your Body: Don’t push through pain. Sharp or lasting discomfort is a signal to stop and rest. Recovery is where your muscles grow stronger.
Warm-Up First: Always start with light cardio, like arm circles or a brisk walk, and dynamic stretches for your shoulders and wrists. This prepares your muscles and reduces injury risk.
Breathe Properly: Inhale as you lower your chest toward the surface. Exhale forcefully as you push back up. Holding your breath can increase blood pressure and reduce performance.
Your Push-Up Progress Timeline
Frequency: Aim for 2-3 push-up sessions per week. Consistency matters more than doing many reps in one day.
Progression: With regular practice, you may see noticeable strength improvements and be able to move to harder variations within 4-8 weeks. Everyone progresses at their own pace.
Cost: Push-ups are a free exercise. You need no equipment, just a stable surface and your own body weight.
When to Consult a Professional
Consult a doctor or physical therapist if you experience sharp or persistent pain in your shoulders, wrists, or lower back during or after push-ups. Also seek professional guidance if you have a pre-existing medical condition that might be affected by exercise, or if you are unsure about your form and feel you are not progressing safely. A professional can assess your technique and suggest modifications.
Frequently Asked Questions
How often should I do push-ups to see results?
Aim for 2-3 push-up sessions per week. Consistency is more important than doing a high number of reps in a single day. With regular practice, you may notice strength improvements and be able to move to harder variations within 4-8 weeks.
Can push-ups help me lose weight?
Push-ups are a strength-building exercise and alone are not a weight loss solution. However, they can be part of a balanced fitness routine that includes cardiovascular activity and a healthy diet, which together may support weight management.
What if my wrists hurt during push-ups?
Wrist pain is a common issue. Try performing push-ups on your fists or using push-up handles to keep your wrists in a neutral position. If pain persists, consult a doctor or physical therapist before continuing.
Is it bad if my elbows flare out during push-ups?
Yes, flaring your elbows out wide to the sides can put unnecessary strain on your shoulder joints. Keep your elbows at roughly a 45-degree angle from your body to protect your shoulders and maintain proper form.
How do I know when I’m ready for a harder push-up variation?
You are ready when you can complete your target number of repetitions with perfect form on your current variation. If you can lower your chest close to the surface, keep your body straight, and control the movement without pain, try the next progression.
Final Thoughts
My tip: stick with the variation that lets you keep perfect form for every rep, and only move to a harder one when you can comfortably complete your target number. With 2-3 sessions per week, you can expect to see noticeable strength improvements within 4-8 weeks. Stay consistent, listen to your body, and celebrate each small step forward.
This article is for general informational purposes only and does not constitute medical or professional fitness advice. Consult a doctor or physical therapist before starting any new exercise program, especially if you have pre-existing shoulder, wrist, or back issues. Stop immediately if you experience sharp or persistent pain.