Resistance Bands Exercises for Glutes and Legs While Traveling

When you’re traveling, keeping up with your fitness routine can feel like a challenge, especially when your hotel has no gym or the nearest park is a patch of grass. That’s where resistance bands come in: they’re small, light, and surprisingly effective for targeting your glutes and legs. In this article, I’ll walk you through the basics of using mini loop bands on the go, including the essential gear, how to pick the right resistance, and the best exercises to keep your lower body strong while you’re away from home.
Key Takeaways
- Pack mini loop bands in light, medium, and heavy resistance to adjust difficulty on the go.
- Warm up for 5-10 minutes with light cardio and dynamic stretches before starting.
- Aim for 2-3 sets of 10-15 reps per exercise, focusing on controlled movements.
- Stop immediately if you feel sharp or persistent pain and consult a professional.
- Perform these workouts 2-3 times per week for best results.
Why Resistance Bands Are Your Travel Workout Secret Weapon
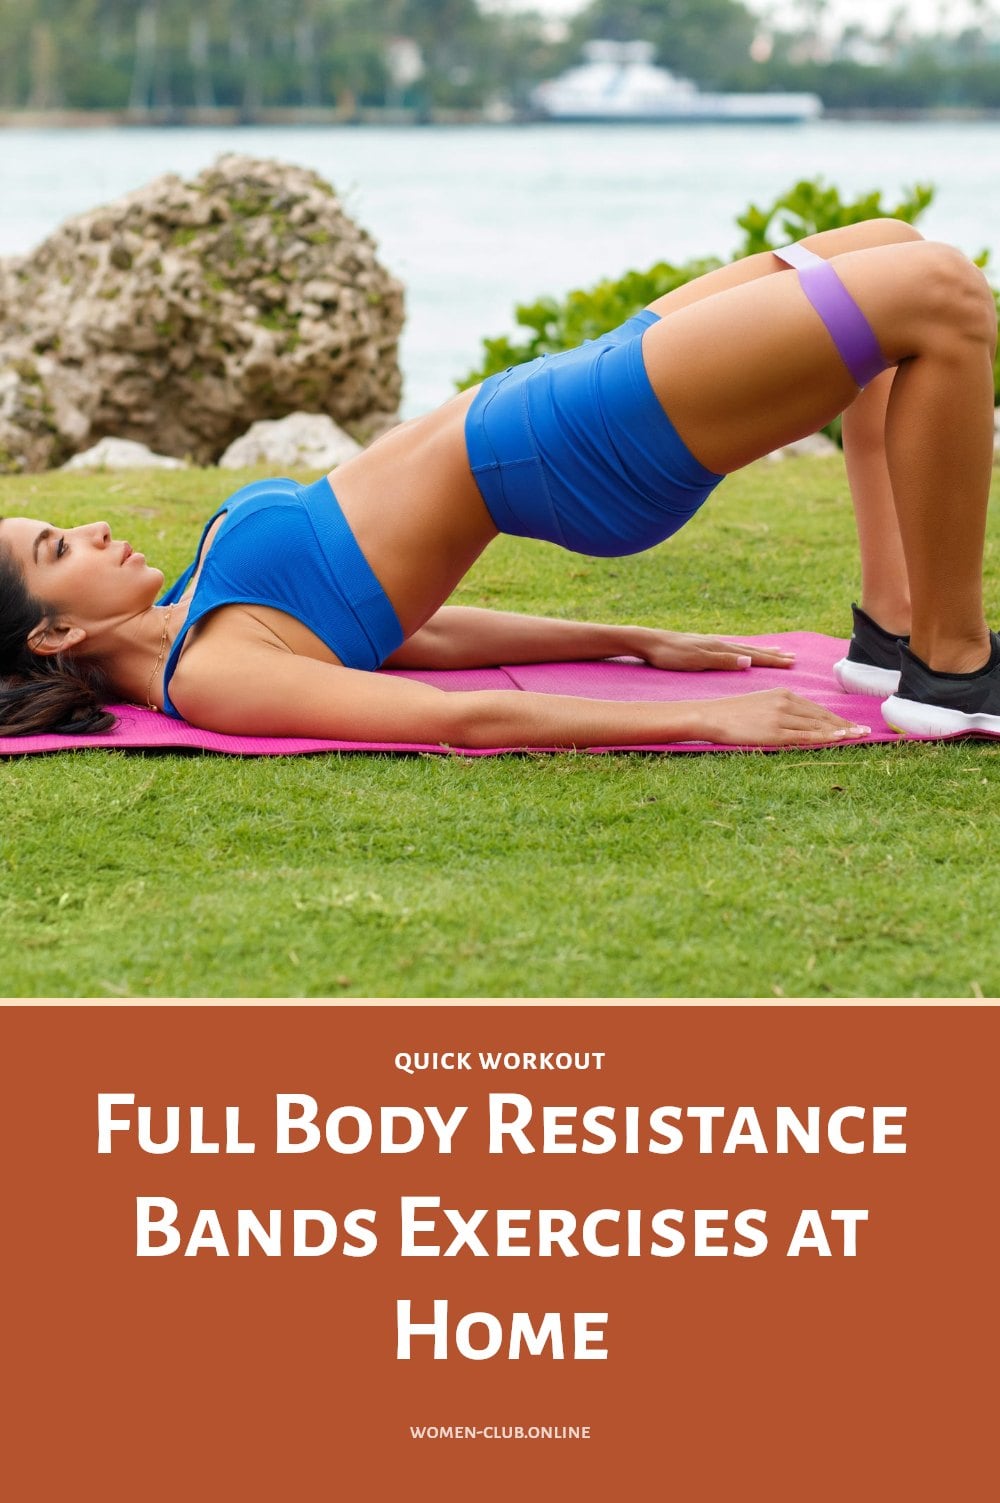
Resistance bands are the travel-friendly fitness tool that actually delivers. They weigh almost nothing, fold into any suitcase pocket, and let you target your glutes and legs in a hotel room, park, or beach. The constant tension they provide through a full range of motion activates muscles effectively without heavy equipment. With multiple resistance levels packed in your bag, you can adjust intensity on the fly, keeping your muscles challenged and your strength routine on track wherever you go.
Essential Gear for Your Resistance Band Workouts
Before you start, gather a few essentials:
- Mini loop resistance bands: Your primary tool for glute and leg work. Pack a set with light, medium, and heavy bands to adjust difficulty as you go.
- Yoga mat: Optional but helpful for comfort and stability, especially on hard hotel floors.
- Comfortable workout attire: Stretchy clothes that let you move freely without restriction.
- Water bottle: Staying hydrated keeps your muscles working and prevents fatigue.
Choosing the Right Resistance Band for Your Workout
Not all resistance bands are the same. Tube bands with handles and therapy bands exist, but mini loop bands are the best pick for glute and leg exercises. Their compact size keeps them in place, and they deliver constant tension throughout each move.
Resistance levels are usually color-coded, though the colors vary by brand. Yellow often means light, red medium, and black heavy, but always check the packaging to be sure. Start with a lighter band so you can master proper form first. As you get stronger, move up to a heavier band, double up two bands, or shorten the band’s length by holding it closer to the anchor point. Any of these methods increases resistance without buying new gear.
Step-by-Step: Activating Your Glutes and Legs
Follow this framework to get the most from every resistance band session.
- Warm up: Spend 5-10 minutes doing light cardio like marching in place or jumping jacks, followed by dynamic stretches such as leg swings and hip circles.
- Choose your band: Pick a resistance that lets you complete 10-15 repetitions with good form. If you can’t finish the set without straining, go lighter.
- Move with control: Perform each exercise slowly, focusing on the muscle contraction rather than swinging through the motion. Avoid momentum.
- Engage your core: Keep your abdominal muscles tight throughout every exercise to stabilize your body and protect your lower back.
- Set your reps: Aim for 2-3 sets of 10-15 repetitions per exercise. Rest 30-60 seconds between sets.
- Cool down: Finish with static stretches, holding each one for 20-30 seconds to aid recovery and maintain flexibility.
1. Glute Bridges
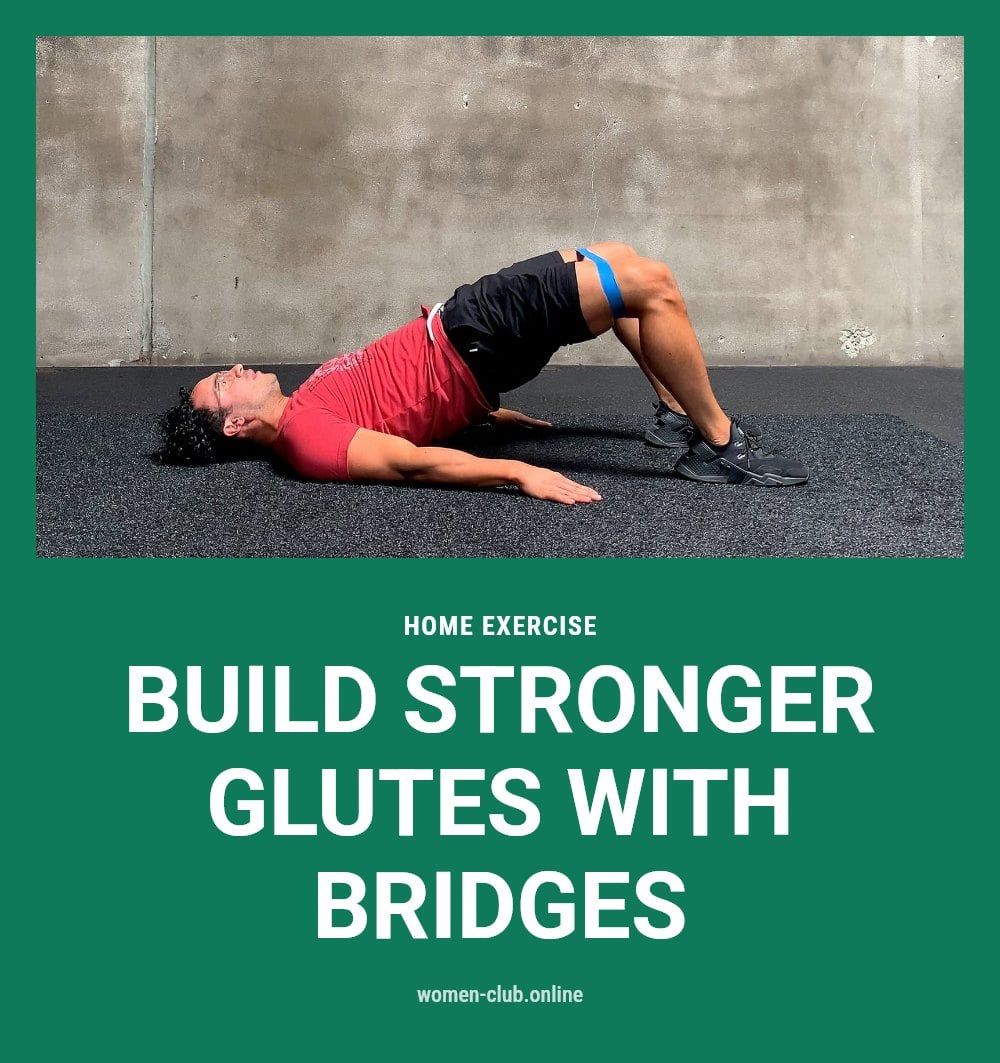
Place a mini loop band around your thighs, just above your knees. Lie on your back with knees bent, feet flat on the floor hip-width apart, and heels close to your glutes. Press through your heels, lifting your hips off the ground until your body forms a straight line from shoulders to knees. Squeeze your glutes at the top, maintaining outward tension on the band. Slowly lower your hips back down.
My tip: Focus on pushing your knees slightly out against the band throughout the movement. This keeps constant tension on your glutes and prevents your knees from caving in.
2. Resistance Band Squats
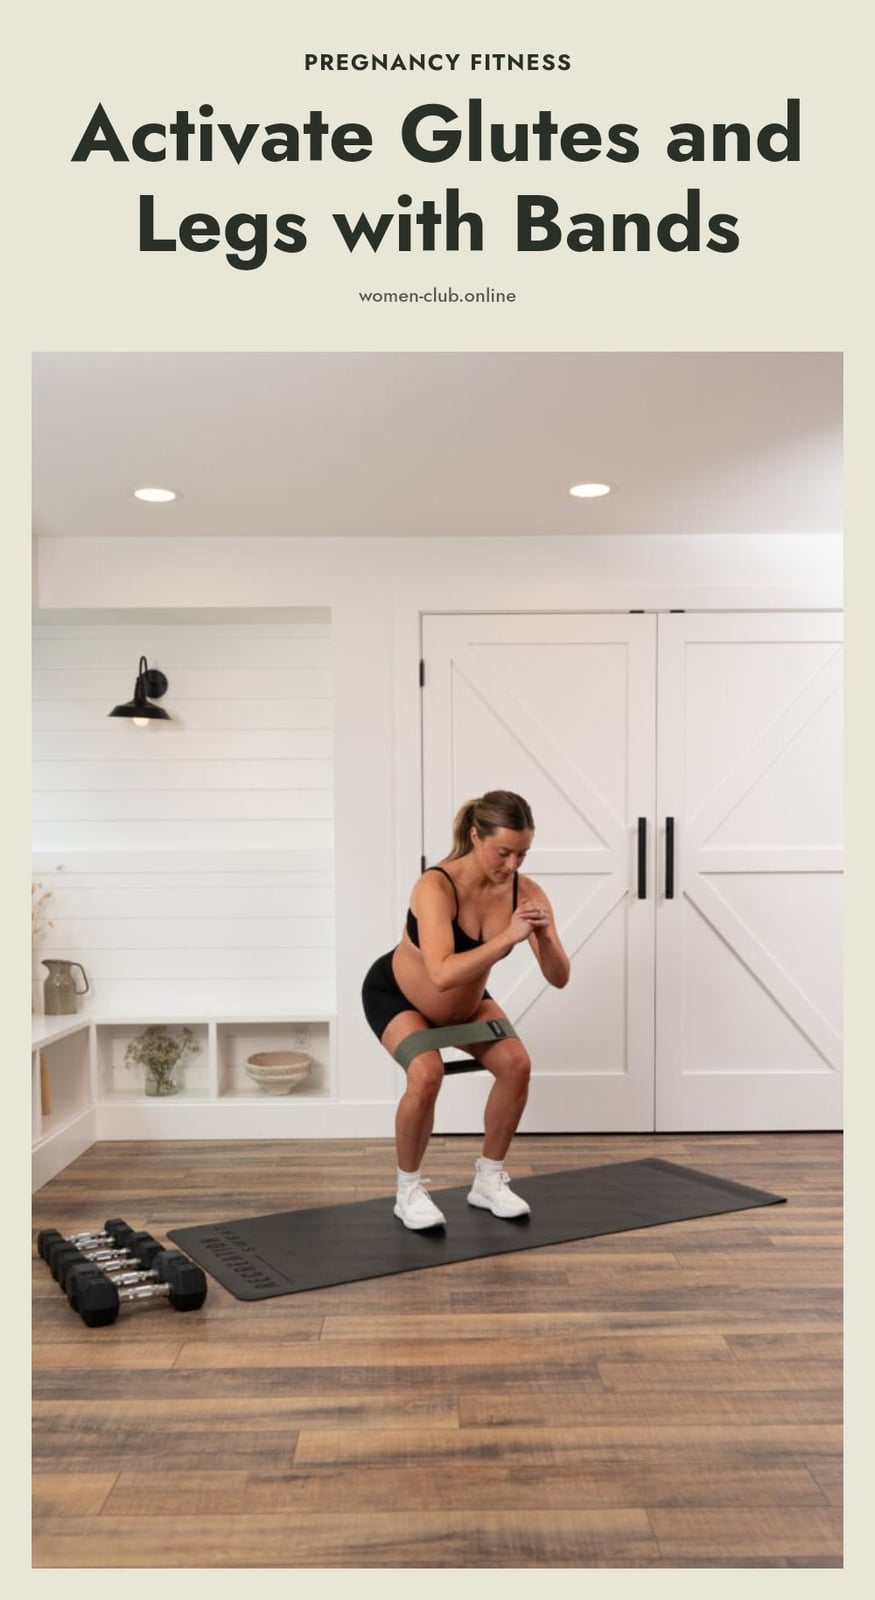
Place a mini loop band around your thighs, just above your knees. Stand with feet shoulder-width apart, toes pointing slightly out. Keeping your chest up and core engaged, push your hips back and bend your knees as if sitting in a chair. Descend until your thighs are parallel to the floor, ensuring your knees track over your toes and you maintain outward tension on the band. Push through your heels to return to the starting position.
My tip: Imagine you’re trying to rip the floor apart with your feet to activate those glutes even more. That mental cue helps you push outward against the band throughout the squat.
3. Lateral Band Walks
Place a mini loop band around your ankles or just above your knees. Ankles increase the difficulty by requiring more lateral stability. Start in a slight squat position, feet hip-width apart, core engaged. Take a step sideways with one foot, maintaining tension on the band. Follow with the other foot, moving it just enough to keep tension but not letting the band go slack. Take 10-15 steps in one direction, then switch directions.
Tip: Stay low throughout the entire movement; don’t stand up between steps. If you rise up, you lose the constant tension on your glutes and outer thighs.
Common Mistakes to Avoid for Effective Workouts
Using too much resistance too soon: This can compromise your form and lead to injury. Always prioritize good form over heavy resistance. Start with a lighter band and master the movement pattern first.
Not engaging the target muscles: Focus on the mind-muscle connection. If you’re not feeling it in your glutes or legs, adjust your form or reduce the band resistance until you can feel the correct muscles working.
Performing movements too quickly: You’ll lose the benefit of constant tension. Slow, controlled movements are key for muscle activation. Count to two on the way up and two on the way down.
Ignoring proper warm-up and cool-down routines: These are crucial for preventing injury and aiding recovery. Don’t skip them. Spend 5-10 minutes warming up and 5 minutes stretching afterward.
Allowing the band to slip or roll: This can be uncomfortable and ineffective. Ensure the band is flat against your skin or clothing and adjust as needed during the set. If it keeps rolling, try a different band width or placement.
When to Consult a Professional
Stop immediately if you feel sharp or persistent pain during or after an exercise and consult a doctor or physical therapist. If you have pre-existing health conditions, injuries, or any concerns about starting a new exercise program, speak with a healthcare professional first. When you are unsure about proper form for a movement, working with a certified personal trainer can help you perform it safely and effectively.
Workout Frequency and Expected Results
Frequency: Perform resistance band exercises for your glutes and legs 2-3 times per week, with rest days in between.
Consistency is Key: Regularity matters more than intensity when you are starting out.
Results Timeline: With consistent effort and proper nutrition, improvements in muscle tone and strength typically appear within 4-6 weeks.
Cost: Resistance bands are an affordable fitness tool. Sets with varying resistance levels usually cost between $10 and $30.
Frequently Asked Questions
Can resistance bands build muscle?
Yes, resistance bands can help build muscle, especially for beginners or when you can’t access weights. The constant tension they provide challenges your muscles throughout the movement, which can lead to strength gains over time. For more significant muscle growth, you may need to increase resistance or combine bands with other exercises.
How often should I use resistance bands for glutes and legs?
Aim to perform resistance band exercises for your glutes and legs 2-3 times per week, with rest days in between. This frequency allows your muscles time to recover and adapt. Consistency matters more than intensity, especially when you’re starting out, so stick to a regular schedule.
What’s the difference between loop bands and tube bands?
Loop bands, also called mini bands, are closed circles and are ideal for glute and leg exercises because they stay in place and provide constant tension. Tube bands have handles and are often used for upper-body work or exercises that require gripping. For lower-body travel workouts, mini loop bands are the better choice.
How do I clean my resistance bands?
To clean your resistance bands, wipe them down with a damp cloth and mild soap, then let them air dry. Avoid harsh chemicals or excessive heat, which can degrade the material. Regular cleaning helps maintain their elasticity and prevents buildup of dirt or sweat, especially after frequent use.
Can I use resistance bands if I have knee pain?
If you have knee pain, you can use resistance bands, but proceed with caution. Choose a lighter resistance and avoid exercises that cause discomfort. Focus on controlled movements and stop if you feel sharp or unusual pain. Consult a healthcare professional before starting any new exercise program, especially if you have pre-existing knee issues.
Final Thoughts
To get the most out of your resistance band routine while traveling, start with a light band and focus on mastering the form for each exercise. Consistency is key: aim for 2-3 sessions per week, and you can expect improvements in muscle tone and strength within 4-6 weeks. Remember to listen to your body and take rest days as needed. With a little planning, resistance bands can keep your glutes and legs engaged no matter where your travels take you.
This article is for general information only and is not a substitute for professional medical or fitness advice. Before starting any new exercise program, especially if you have pre-existing health conditions or injuries, consult a qualified healthcare provider. Stop exercising and seek medical attention if you experience sharp pain, dizziness, or shortness of breath.